How to Bake Bread at Home (no Fancy Equipment)
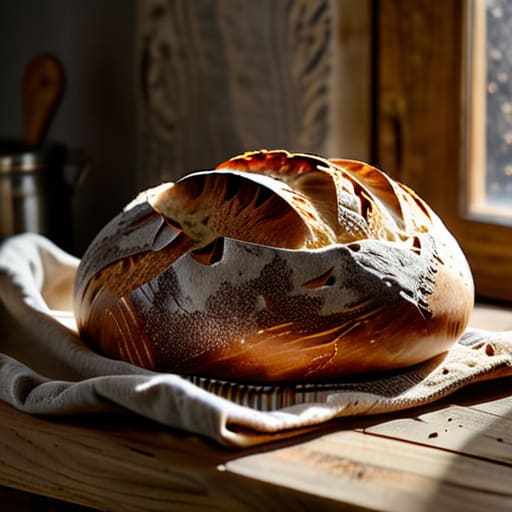
I still remember the first time I tried to master the art of sourdough; my kitchen looked like a flour bomb had gone off, and the “crusty” loaf I pulled out of the oven was essentially a weaponized brick. I spent weeks watching pretentious chefs lecture about hydration percentages and ambient temperature as if they were performing open-heart surgery. Honestly, most of the advice you find online about how to bake bread at home is designed to make the process feel more exclusive and complicated than it actually needs to be. You don’t need a degree in chemistry or a thousand-dollar mixer to get results that actually taste good.
Forget the gatekeeping and the unnecessary gear. In this guide, I’m stripping away the fluff to give you the straight-up reality of what works and what’s just a waste of your time. I’m going to show you how to master the basics using nothing but intuition, a bit of patience, and a few simple tools you probably already own. We’re focusing on real results—that golden, crackling crust and airy crumb—without the headache.
Table of Contents
Mastering the Yeast Fermentation Process
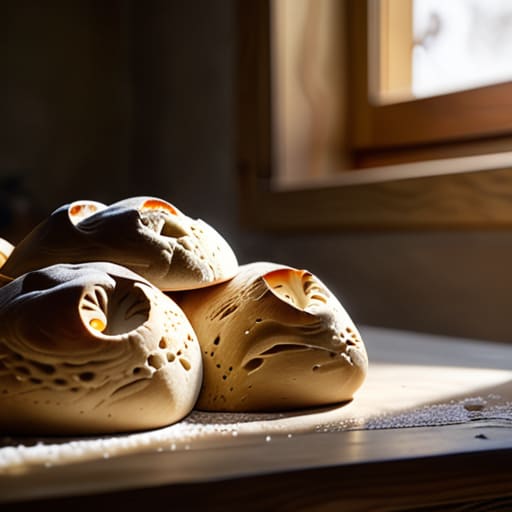
This is where the real magic happens, and honestly, it’s where most people get intimidated. The yeast fermentation process isn’t some complex chemistry experiment you need a lab coat for; it’s just living organisms doing their thing. Think of yeast as the tiny engines that power your loaf. When you mix your flour and water, you’re essentially creating a feast for these microbes. As they eat the sugars in the flour, they release carbon dioxide, which is what creates those beautiful air pockets we all crave. If you’re just starting out with bread making for beginners, the biggest mistake you can make is rushing this part. You can’t bully dough into rising faster by cranking up the heat; you have to respect the clock.
Patience is your best friend here. You’ll know things are going well when the dough looks puffy and feels alive under your hands. If your kitchen is freezing, don’t panic—just find a slightly warmer nook, maybe near the oven, to give it a nudge. The goal is a slow, steady rise that builds complex flavor profiles rather than a frantic, rushed burst. Once you nail this timing, you’re well on your way to making professional-grade loaves.
Essential Bread Baking Tools for Every Kitchen
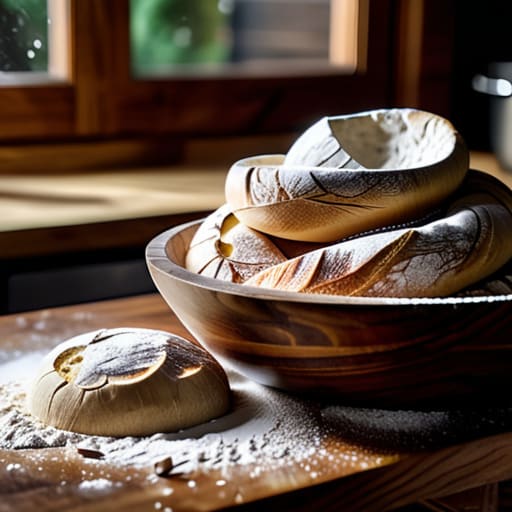
Look, you don’t need a professional bakery setup to get started, but there are a few things that make the difference between a dense brick and a beautiful loaf. If you’re just starting out with bread making for beginners, the absolute MVP is a digital kitchen scale. Forget measuring cups; flour is finicky, and even a little too much can ruin your hydration levels. You also want a decent mixing bowl—something large enough to let the dough expand without making a mess of your counters.
Once you move past the basic mixing stage, a few more specialized items come into play. A bench scraper is a total game-changer for cleaning up flour and handling sticky bits during your kneading dough techniques. If you’re dreaming of that crackly, professional crust, investing in a Dutch oven is the best move you can make. It traps steam perfectly, which is the secret sauce for achieving that authentic artisan bread at home look. You don’t need a mountain of gadgets, just the right few tools to keep the process smooth and actually enjoyable.
Five Little Secrets to Stop Your Loaves from Failing
- Stop obsessing over the clock and start trusting your hands. Yeast is a living thing, not a stopwatch; if the dough feels heavy or lifeless, give it another twenty minutes even if the recipe says it should be done.
- Get yourself a digital scale. Using measuring cups for flour is a recipe for disaster because one cup can weigh wildly differently depending on how tightly you pack it, and bread is all about precision.
- Don’t be afraid of the “ugly” phase. Your dough is going to look sticky, messy, and completely unmanageable at first—that’s totally normal, so don’t go dumping extra flour on it just to make it easier to handle.
- Temperature is everything. If your kitchen is freezing, your bread will take forever to rise, so try to find a warm, draft-free corner or even turn on the oven light to give it a little nudge.
- Patience during the cooling process is the hardest part, but you have to do it. If you slice into a hot loaf immediately, the steam escapes too fast and you’ll end up with a gummy, dense texture instead of a perfect crumb.
The Big Picture
Don’t get hung up on perfection; bread is a living thing, and even a “failed” loaf usually tastes incredible with enough butter.
Patience is your most important ingredient—rushing the fermentation process is the fastest way to end up with a dense, flavorless brick.
Invest in a decent scale rather than relying on measuring cups, because in baking, precision is the difference between a masterpiece and a mess.
The Soul of the Loaf
“Baking bread isn’t about following a chemistry experiment to the letter; it’s about learning to listen to the dough and realizing that the best part of the process is the mess you make along the way.”
Writer
The Warmth of the Final Loaf
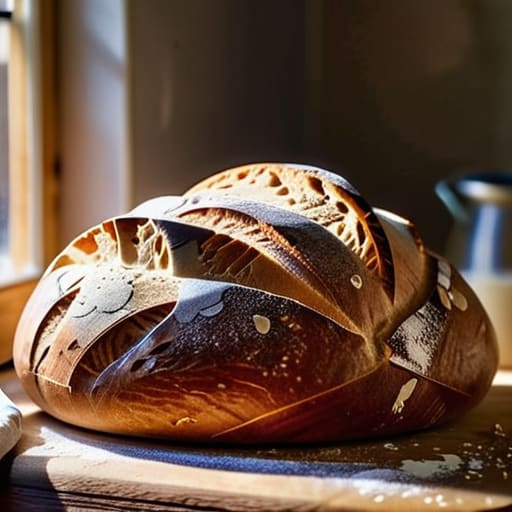
At the end of the day, baking bread isn’t about having a professional-grade oven or a PhD in chemistry. It’s about understanding how your yeast behaves, getting the right tools in your hands, and having the patience to let the dough do its thing. You’ve learned the mechanics of fermentation and the gear you actually need, but remember that the most important ingredient is often just time. Don’t get discouraged if your first loaf comes out a bit dense or looks a little lopsided; even the pros have days where the crumb isn’t quite right. Just keep refining your technique and trust the process.
There is something almost primal and deeply satisfying about pulling a steaming, golden-brown loaf out of your own oven. The smell alone is enough to turn a house into a home, and that first bite of a warm crust is a reward like no other. Baking is a lifelong journey of trial and error, but every single mistake is just another step toward mastery. So, flour your hands, get a little messy, and embrace the craft. You aren’t just making food; you’re creating something truly soulful from nothing more than flour, water, and salt.
Frequently Asked Questions
Why does my dough never seem to rise no matter how long I let it sit?
The most likely culprit? You’re accidentally killing your yeast. If your water is even slightly too hot, you’ve basically boiled your leavening agents to death before they even started working. Or, your yeast is just old and dead—check those expiration dates. If the yeast is alive but still nothing, your kitchen might be too cold. Yeast loves warmth; if your house is freezing, that dough is going to take forever to wake up.
Is it actually worth buying a Dutch oven, or can I just use a regular baking sheet?
Look, if you’re just starting out, a baking sheet is fine. It’ll work. But if you want that professional, bakery-style crust with a massive oven spring? Get the Dutch oven. The magic is in the steam. A heavy pot traps the moisture escaping from the dough, creating a mini-sauna that keeps the crust soft long enough for the bread to expand fully. It’s the single best upgrade you can make.
How can I tell if my bread is truly done without just guessing?
The “poke test” is your best friend here. Give the bottom of the loaf a firm tap; if it sounds hollow, like a drum, you’re golden. If it sounds thuddy or dense, it needs more time. If you’re still nervous, grab an instant-read thermometer. You’re looking for an internal temp of about 190°F to 210°F depending on the dough. Trust your ears and your hands—not just the timer.